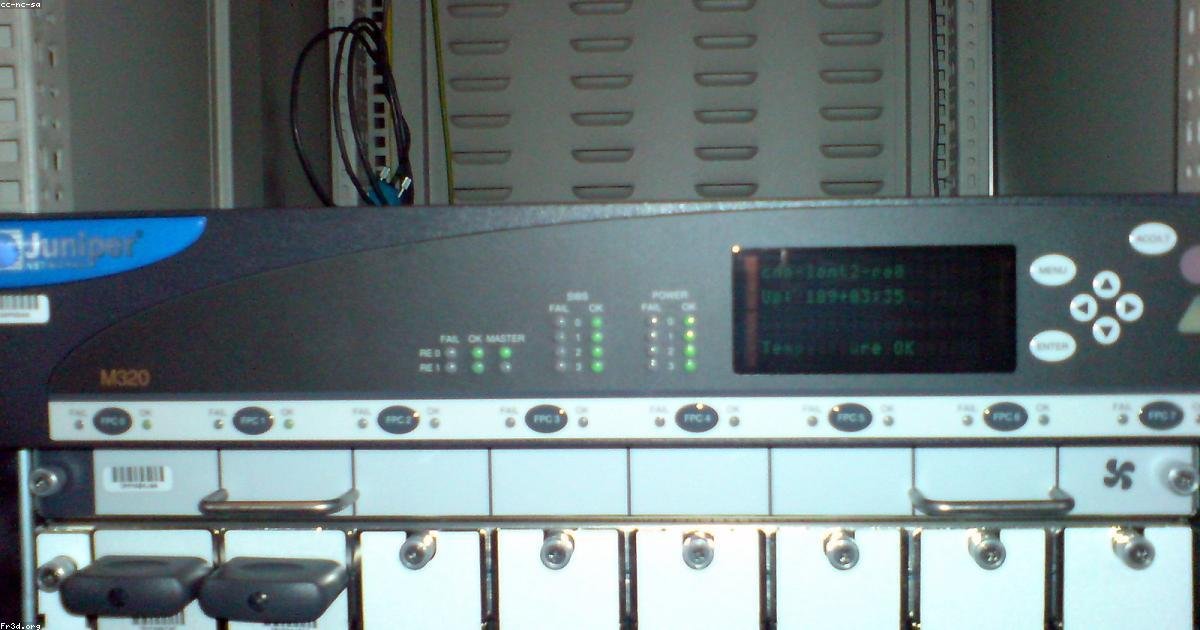
Bandwidth management is one of the most critical skills in network administration, especially for WAN (Wide Area Network) environments. Juniper Networks devices offer powerful classful queueing features that let you control traffic flow and distribute bandwidth fairly across users and applications.
What Is Classful Queueing?
Classful queueing is a bandwidth management mechanism that divides available bandwidth into multiple queue classes. Each class receives a guaranteed bandwidth allocation, and any traffic exceeding its limit gets queued or dropped based on priority settings.
Unlike classless queueing mechanisms (such as HTB – Hierarchical Token Bucket), classful queueing uses a simpler structure that remains highly effective for small to medium-scale deployments. Juniper implements this through its Class of Service (CoS) framework on each interface.
Classful Queueing Architecture on Juniper
On Juniper devices, classful queueing integrates directly with Class of Service features. Here are the core components:
- Scheduler Map — Determines how packets are placed into queues and how much bandwidth each queue receives
- Drop Profile — Defines drop policies for congestion management when queues fill up
- Forwarding Class — Classifies packets based on priority such as expedited forwarding, assured forwarding, or network control
- Queue — A temporary holding area for packets before they are transmitted
Case Study: Shorewall-Based Bandwidth Management
In real-world scenarios, bandwidth management on Juniper devices often works alongside Shorewall (Shoreline Firewall) running on a Linux gateway. Shorewall acts as the firewall layer sitting in front of the Juniper router, performing packet filtering and traffic shaping before traffic even reaches the router.
Step 1: Basic Shorewall Configuration
Shorewall uses simple configuration files in /etc/shorewall/. Here is a basic configuration for a two-interface setup:
# /etc/shorewall/interfaces
net     eth0    detect  dhcp,tcpflags,routefilter,nosmurfs
loc     eth1    detect  tcpflags,routefilter

# /etc/shorewall/tcclasses
# Format: INTERFACE MARK PRIORITY QUEUE_Packets QUEUE_BANDWIDTH
eth0    0       0       root    100mbit
eth0    1       1       1:10    40mbit
eth0    2       2       1:20    30mbit
eth0    3       3       1:30    20mbit

# /etc/shorewall/rules
ACCEPT  all     fw      all
ACCEPT  loc     net     all
Step 2: Juniper Class of Service Configuration
On the Juniper side, enable CoS on the WAN-facing interface:
set class-of-service interfaces ge-0/0/0 unit 0 classifiers exp default
set class-of-service interfaces ge-0/0/0 unit 0 classifiers exp inet-precedence default
set class-of-service interfaces ge-0/0/0 unit 0 scheduler-map WAN-SCHEDULER
set class-of-service interfaces ge-0/0/0 unit 0 forwarding-class expedited-forwarding
set class-of-service interfaces ge-0/0/0 unit 0 forwarding-class assured-forwarding
Step 3: Traffic Shaping with Policers
Policers on Juniper act as bandwidth limiters applied per interface or per user:
# Create a 10Mbps policer for a specific user
set firewall family inet filter BW-CONTROL term 1 from source-address 192.168.1.100/32
set firewall family inet filter BW-CONTROL term 1 then policer POLICE-10M
set firewall family inet filter BW-CONTROL term 1 then accept
set firewall family inet filter BW-CONTROL term 2 then accept

# Policer configuration
set firewall policer POLICE-10M if-exceeding bandwidth-limit 10m
set firewall policer POLICE-10M if-exceeding burst-size-limit 1500k
set firewall policer POLICE-10M then discard
Classic Method: Relay Agent with Traffic Control
Another approach involves using a modified DHCP Relay Agent to perform bandwidth shaping. Juniper EX series supports this with the following configuration:
# Configure relay agent with option 82
set forwarding-options helpers bootp interface ge-0/0/1.0 relay-agent-circuit-id
set forwarding-options helpers bootp interface ge-0/0/1.0 relay-agent-remote-id

# Apply shaping filter
set interfaces ge-0/0/1 unit 0 family inet filter input BW-FILTER
set interfaces ge-0/0/1 unit 0 family inet filter output BW-FILTER
Best Practices for School Networks
Here are practical recommendations for implementing bandwidth management in educational environments:
- Prioritize LMS traffic — Traffic to learning management systems gets bandwidth guarantees so online classes stay smooth
- Use hierarchical queues — Split bandwidth by need: browsing 30%, video streaming 40%, downloads 20%, miscellaneous 10%
- Enable SNMP/jflow monitoring — Activate sampling for real-time traffic analysis to identify bottlenecks early
- Test in a lab first — Use a simple setup with 2 routers and 1 PC before deploying to production
Verifying Your Configuration
After applying your configuration, verify it using these commands on Juniper:
# Check queue status
show class-of-service interface ge-0/0/0

# Check policer statistics
show firewall filter BW-CONTROL

# Monitor real-time traffic
monitor interface ge-0/0/0
Conclusion
Bandwidth management on Juniper devices is not complicated if you understand the fundamentals. By combining Class of Service, policers, and scheduler maps, network administrators can ensure fair and optimal bandwidth distribution across all users on a WAN.
Shorewall on the Linux gateway side can work synergistically with Juniper CoS features to create a robust bandwidth management system. The key is thorough planning and regular monitoring to adjust configurations based on actual usage patterns.
With proper bandwidth management in place, schools can ensure smooth online learning experiences with critical traffic getting the priority it deserves.