Introduction
One of the most common issues network engineers face when managing Cisco switches is a port going into an “Err-Disable” state. When this happens, the port effectively shuts down, and no traffic can pass through, leading to immediate connectivity loss for end-users or connected devices.
This error is a safety feature designed by Cisco to protect the switch’s control plane and the wider network from potential threats or misconfigurations. In this guide, we will walk you through how to identify the cause and how to restore connectivity quickly.
What Causes the Err-Disable State?
The err-disable state indicates that the switch operating system (Cisco IOS) detected a problem on the port and disabled it to prevent further damage. Common causes include:
- Port Security Violations: A device with an unauthorized MAC address tried to connect.
- Loopback Errors: A network loop was detected (often caused by faulty cabling or unmanaged switches).
- Duplex Mismatch: Speed/duplex settings do not match between the switch and the connected device.
- BPDU Guard: An unauthorized switch was plugged into a port configured with PortFast.
- Udld: Unidirectional Link Detection issues on fiber links.
Step 1: Diagnosing the Issue
Before fixing the port, you must know why it went down. Enabling the port without fixing the root cause will simply result in the port going down again.
Log in to your Cisco switch via SSH or Console and run the following command:
Bash
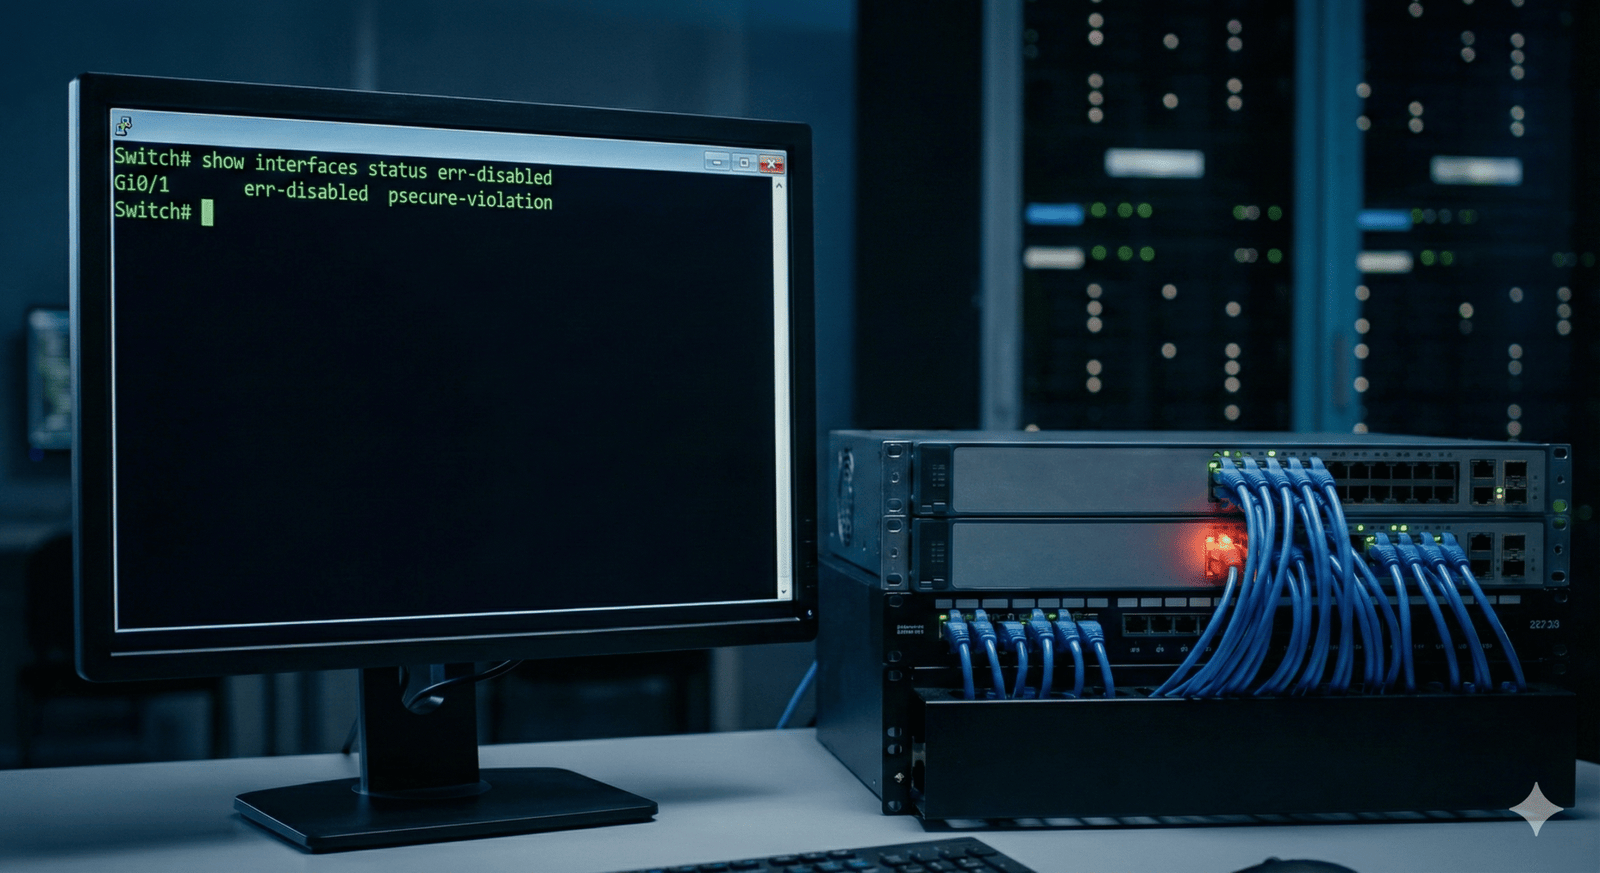
Switch# show interfaces status err-disabled
Sample Output:
Plaintext
Port      Name          Status       Reason               Err-disabled Vlans
Gi0/1                   err-disabled psecure-violation
Gi0/2                   err-disabled loopback
In the example above:
- Gi0/1 is down due to a Port Security Violation (psecure-violation).
- Gi0/2 is down due to a Loopback (network loop).
You can get more detailed information about a specific interface using:
Bash
Switch# show interfaces GigabitEthernet0/1
Look for lines indicating “down” and “err-disabled”.
Step 2: Manually Recovering the Interface
If you have identified and fixed the physical issue (e.g., removed the unauthorized device or fixed the loop), you can manually re-enable the port.
You must perform a “shut / no shut” sequence to reset the interface.
Bash
Switch# configure terminal
Switch(config)# interface GigabitEthernet0/1
Switch(config-if)# shutdown
Switch(config-if)# no shutdown
Switch(config-if)# end
If the configuration is correct and the external issue is resolved, the port status should return to connected.
Step 3: Configuring Automatic Recovery
For certain environments, you might want the switch to attempt to re-enable the port automatically after a set period. This saves you from having to manually log in every time a minor glitch occurs.
1. Enable Error Recovery for Specific Causes
First, tell the switch which errors it is allowed to attempt recovery for.
Bash
Switch(config)# errdisable recovery cause psecure-violation
Switch(config)# errdisable recovery cause bpduguard
Switch(config)# errdisable recovery cause loopback
(You can also use errdisable recovery cause all to enable it for all reasons, though this is risky).
2. Set the Recovery Interval
By default, the recovery time is usually 300 seconds (5 minutes). You can change this interval (in seconds).
Bash
Switch(config)# errdisable recovery interval 30
This sets the recovery attempt to happen every 30 seconds.
3. Verify the Configuration
Check your recovery settings to ensure they are active:
Bash
Switch# show errdisable recovery
Conclusion
The Err-Disable state is a critical protection mechanism, not just a bug. Always investigate the Reason column in your diagnostic commands before simply re-enabling the port. By configuring Errdisable Recovery, you can automate network resilience, but ensure you monitor your logs to prevent recurring flapping interfaces.